
So far I’ve talked about the uphill battle getting an editor to look at a cold pitch and the importance of summing up your ideas with a short and entertaining package, so let’s move on to the different sections in a pitch.
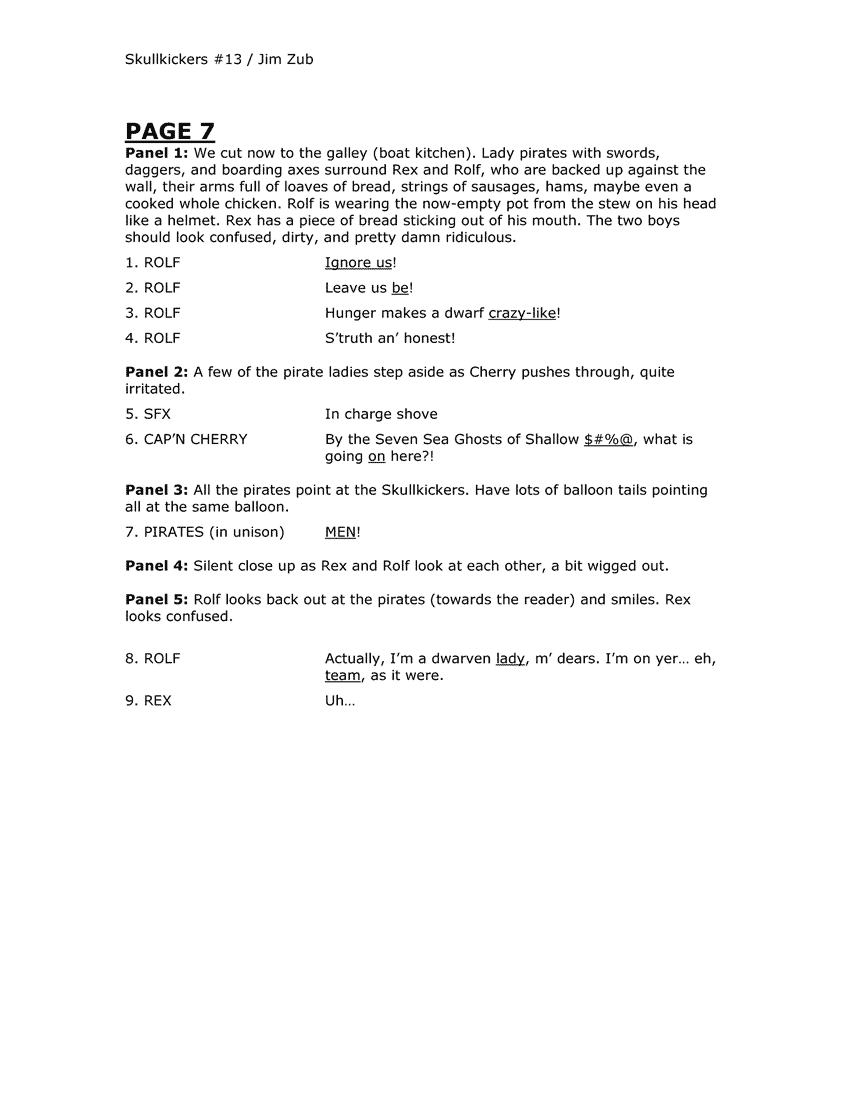
Check out the Skullkickers pitch from part 2 and you’ll see a distinct structure at play – I start with broad ideas and then build towards the specific with each subsequent section. Macro to micro. I think it’s a smart way to organize your ideas, but don’t be paranoid if you change it up. This isn’t an exact science. There’s no “wrong” way to put together a pitch as long as your concept is clearly delivered and the editor is interested/impressed by the time they’re done flipping through.
Here are some possible sections you can use:
The Art: Since we’re talking about comics, the art is the other half of your equation. Frankly, when you’re talking about cold pitches it’s more than half. Great art is going to grab an editor’s interest instantly while unprofessional/inappropriate artwork will sink the greatest story idea ever summarized. I think having art right at the front of a pitch is crucial for establishing the look and feel of the story to come. Find a professional quality collaborator, get great artwork and front load it to create the best first impression you can.
Title: Use a title that’s easy to remember but hasn’t been used before. Yeah, I know that’s insanely difficult. Welcome to the creative commercial arts. Finding the right title is rough, but slapping a generic or already taken name on your story just because you want to get it done will really hurt the feel of the pitch. Take your time to find a good fit. While you’re at it, buy the web url for your title once you settle on one. You’ll be thankful to have it later on if everything goes ahead.
Inspirational Quote: Not required, but if you have a little chunk of dialogue or a famous quote, something particularly sharp and appropriate, it can be a nice way to start things off and set the mood for the rest of the pitch. If not, don’t worry about it.
Logline: Having a simple one sentence explanation of your concept can be very helpful for laser-focusing attention, giving people something they can instantly understand. The Hollywood cliché of a logline is a sleazy salesman barking out “Okay, okay… It’s like (popular thing) meets (trendy thing)!” and that’s one form of logline, but not necessarily the most effective in every situation.
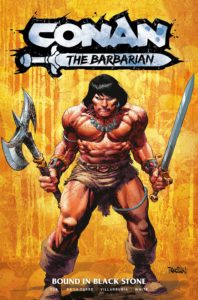
My favorite logline for Skullkickers is “It’s a buddy cop movie slammed into Conan the Barbarian”. Another one I use is “Skullkickers is low-brow high-fantasy”. Both are memorable, ultra-focused and give you a sense of the series very quickly.
Overview: Distilling your story down in to a couple brief paragraphs is brutal as you’re forced to chop away everything but the absolute core but, again, it’s necessary and is your best shot at getting an editor to read and understand the concept. The longer or more complex this is, the less likely you’ll keep their attention. Summarize your overall goals in terms of genre, mood, and inspiration. Remember that your overview is not the plot. Don’t use this section to describe specific events that happen in the story.
Theme: Ideally, your story is about something. I know that sounds sarcastic, but I’m serious. Having a point of view or a message to impart can be the difference between a good story and a great one. It can be difficult to step back from your plot and characters to look at the bigger picture (ie. What does it all mean? Why am I telling this story?), but if you can do that and sum up your intended message in an eloquent way, it can make a big impression on the person reading your pitch. It can also be something to help guide you when your story has lost its way during the writing process.
Character Briefs: It can be nice to have a few sentences about each main character, denoting personality and their goals in the story. Having this also makes it easier for the editor to mentally separate each character and compare them to the art samples.
Plot Summary: Here’s where you can talk about the sequence of events, just do it as briefly as possible. Who are the main characters, who/what opposes them and what’s at stake if they fail? Keep it brief, keep it entertaining and make sure it reflects the genre and mood you expressed in the overview. If you have a grand plot twist, you should probably tell the editor that here as well. Established writers can tease secret stuff in their pitches, but if you don’t already have a professional body of work you’re going to have to tip your hand and show the editor your brilliant twisteroo so they can see you’re capable of sticking the landing on your neat idea.
Format: Here’s where you can specify your vision for how the story could be delivered – a mini-series, a complete graphic novel, an ongoing series, etc. Keep in mind that you should start small. No publisher is going to green light a 100 issue epic written by a newcomer based on their pitch. Start with short stories, one-shots or mini-series concepts and build up to larger/longer stories once you’re more established.
Audience: If you’re pitching subject matter that’s quite young or quite mature you might want to specify that to the editor with a short description of your intended audience. Make sure you understand the difference between content intended for children, middle grade, young adult (teen) and adult.
Afterwards: If your story is self contained this isn’t necessary, but if it’s part of a larger concept you can summarize a few additional ideas about where things could go after your first part. Keep this especially brief. Use this just as a way to show that you’re thinking ahead. Don’t scare away the editor with visions of spin-offs and multi-year storylines.
I thought I’d have enough room for Pitching Do’s and Don’ts, but that will have to wait until next time.
If you found this post helpful, feel free to let me know here (or on Twitter), share it with your friends and consider buying some of my comics or donating to my Patreon to show support for me teaching you how to steal my job. ;P


 Zub on Amazon
 Zub on BlueSky
 Zub on Instagram
 Zub on YouTube
 Follow this blog's RSS feed
 Makeshift Miracle